Not sure how to show off all the pretty holiday cards you get at Christmas time? Here's a gorgeous way to display them without taking up a lot of space!
I love sending and receiving Christmas cards each year, but every year I feel like I'm trying to find enough surface space to display them with all my other holiday decor. Sure, there are lots of other ways to show them off - my Grandmother used to tape them all to the front of the coat closet, or I've seen others hole punch them and make garland - but this is seriously the prettiest way I've seen yet.
I found the original idea from
Ellie at Moda Bake Shop. Ellie's version requires a bit more hardware and power tools than my copy does, but hers is larger and probably sturdier. I had asked my Dad if he'd be able to cut some plywood into the triangle Christmas tree shape, but even though he's more than happy to help, he usually doesn't have a lot of spare time. I figured a foam board would work nearly as well and I would save some money!

I bought a piece of 20x30 in. foam board for just $2.99 and drew out the shape I wanted; I could even use the excess board to make a second card holder.
After I cut the tree shape out of the foam board, I used it to cut batting to the same shape, then I pulled out all my Christmas fabrics...
Rather than doing the quilting squares, like Ellie, I cut my fabric into triangular strips and sewed them together so that it looked a little more whimsical, Dr. Suess-ish.
Once I had the fabrics to the right size, I laid it over the foam board with the batting in the middle. I pinned the top corner in place (the sewing pins worked well in the foam board) and used a hot glue gun to secure the fabric.
Adding glue a little at a time, I tightened the material around the edges. When I got to the base, I cut the fabric along either side of the 'trunk' so that I could glue the bottom over and then tuck the 'trunk' section under itself.
I didn't bother trimming the fabric until it was completely glued down. Then, after trimming, I used fabric glue along all the edges to prevent fraying.
Honestly, you could stop here because even this makes a beautiful holiday decoration!
I was actually a little afraid to add ribbon to hold cards, worried that it might ruin how pretty it already was. I spent about two hours at different craft stores looking for the perfect ribbon that would tie it all together.
I didn't want a solid red or green ribbon, for thinking the tree would be "too red" or "too green." But I also couldn't picture it with a solid gold or silver ribbon. And a patterned ribbon would look too busy...
Finally, I picked out this burlap ribbon with a touch of gold edging. Since I had used burlap for the trunk, I thought the burlap ribbon would match nicely.
Starting at the bottom, on either side of the trunk, I laid the ribbon down at what looked like a good angle. Then cut it long enough to glue the ends to the back of the board. I made sure that the ribbon was taught enough that I wouldn't need to tack it down at each intersection. With the two lowest ribbons in place, I used them as guidelines for the rest.
Then, for something to hang it on the wall, I braided some string and glued it across the back; since the foam board is so light, it didn't need anything super-duty to hold it up.
Once it was finished, I knew I had picked the perfect ribbon to make this the loveliest card holder I've seen!
It's fun, elegant, and colorful; and would go with any holiday decorations! I'm even more excited, now, to receive pretty, little cards and show them off.
What do you think? Will you be making this card holder or are you already loving how you display your holiday cards? You could always use this to display your favorite holiday photos. If you have another great card display, I'd love it if you shared!
Happy Holidays!

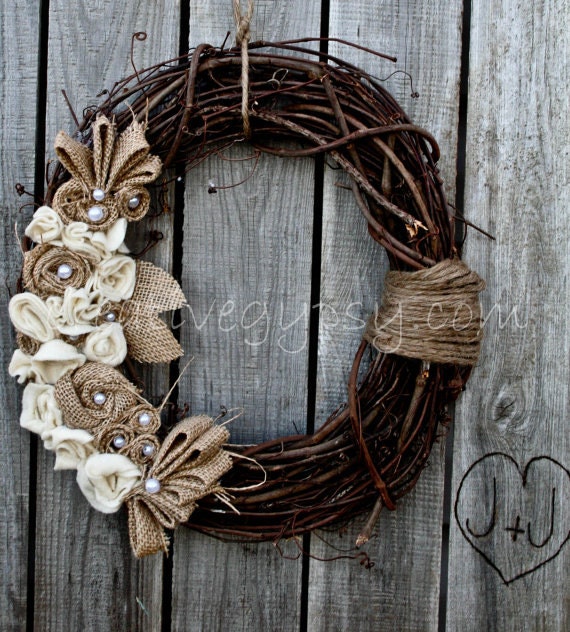
 This year, I got to make a new wreath and I was super excited about it! I don't remember where I found it (a thrift store, probably), but I had this huge grapevine wreath (you could always purchase them at Joann's) that I couldn't wait to decorate with silk leaves and sunflowers. I went out to my local Joann store and bought a few more silk sunflowers and the beautiful burlap ribbon to make a bow with.